If you have a slope to which you want too add railings it isn’t as difficult as it might seem. This is where metal railing work exceptionally well. There are a few ways to achieved this, much depends on the circumstances and what you want to achieve. It will also depend a little on your budget. As some methods are more time consuming than others. But I will run through the possibilities available and show a few examples along the way.
Stepped railings
As the name implies, each railing panel steps down from the next one. This is by far the easiest method as all the work to create the step is done on the posts. They are just normal railing panels.
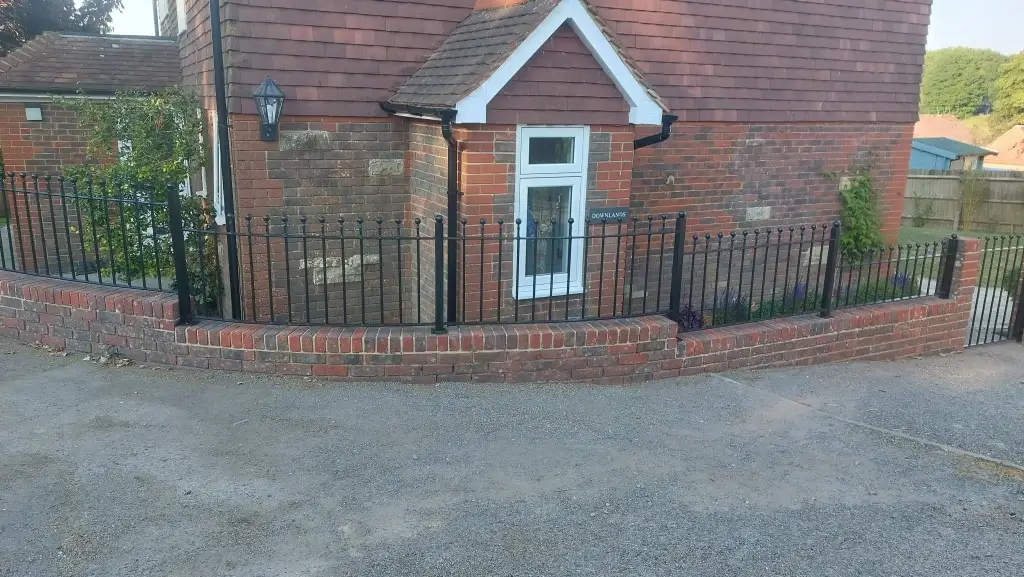
In the picture, the railings follow the wall as it steps down, and the panel does too. The post is fixed at the lower step in the brickwork but is taller than the previous post by the height of the step down.
If the wall steps down 200mm, the post must be 200mm taller than the previous one to match the height. This lets the panel before the drop attach to the post. The next panel will then fix 200mm from the top, assuming it matches the previous panel’s height.
There is a bit of an oddity here, the last panel before the gate on the right also steps down, but there is no step in the wall. This is because behind the wall the ground is much lower. These were installed with safety in mind as well as attempting to get the best look possible.
The far right panel needed to match the height of the gate, it looked strange if there was a step down to the height of the gate, so it was decided to get the best look that panel would be short than the rest.

Again here in this instead of steel post it is brick piers, the panel on the right is stepped down. The same principle applies if it is fencing panels and using steel posts. Each panel would step down from the next.
Raked railings
Raked means on a slope, which I guess is technically what a hand rail going down steps is, but that is usually a steep angle.
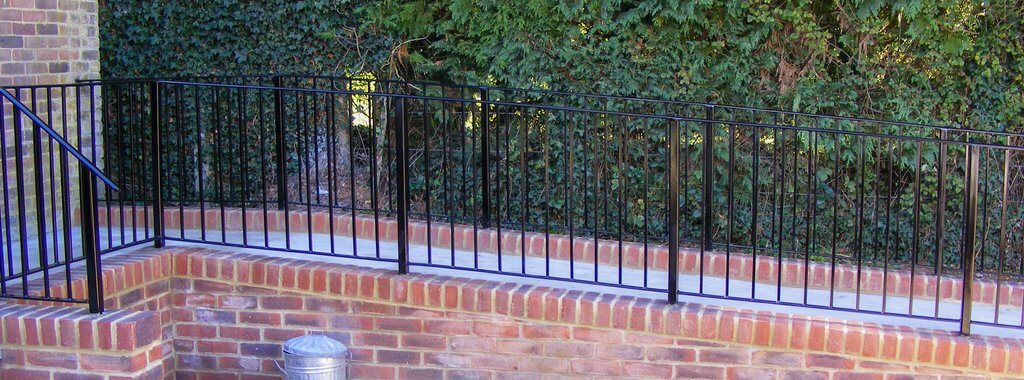
This was a sloped access to a village hall, as it was deemed wheel chair access the slope would have been 1 in 12. Each panel was about 1200mm long. So would have been set with a 100mm fall to follow the ramp. In simple terms was made 5 degrees off square.
This was a wrought iron railing following a sloped wall. The length of the wall was measured, then the total fall of the wall was measured using a laser level. As the wall had a constant fall it was easy to work out the angle of each panel.
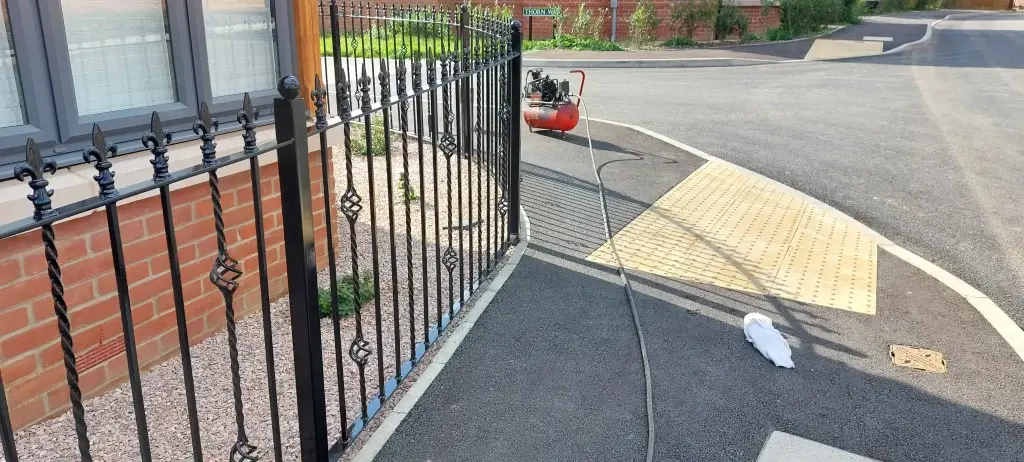
Sloped and curved just to make life extra interesting. Lucky this was very local as it allowed for each panel to be test fitted. essentially weld in a few of the uprights enough for the railing to hold it’s shape. Make sure it fitted as it was supposed to, adjust if required and weld remaining bars in. Slow but got a near perfect result.
